How to Get Verified on Instagram in 2026: A Complete Step-by-Step Guide
Let’s be real: that little blue badge on Instagram still means something. Whether you’re a creator, influencer, or running a business, the verification checkmark helps people trust that you’re actually you—not some imposter trying to cash in on your name.
But how do you get it in 2026? The process has changed. There are now two main paths to verification on Instagram: paying for Meta Verified, or applying as a notable public figure or brand. Each route has different requirements, timelines, and costs depending on where you live.
Let’s break it down so you can pick the right one for your situation.
What Does the Instagram Verified Badge Actually Mean?
First, a quick reality check: the blue badge doesn’t mean Instagram thinks you’re famous or popular. It simply confirms that your account genuinely belongs to the person or brand it represents. That’s it. Think of it as a digital ID check, not a popularity contest.
In 2026, you can get verified one of two ways:
- Subscribe to Meta Verified (paid).
- Apply as a public figure or brand that meets Instagram’s criteria.
Let’s walk through both.
1. Get Verified with Meta Verified (Easiest & Fastest)

If you want the blue checkmark without the headache, Meta Verified is your best bet. It’s a monthly subscription that gives you the badge along with a few other perks.
Here’s how to sign up:
- Open Instagram and go to your profile.
- Tap the menu icon (three horizontal lines) in the top right.
- Select Meta Verified from the list.
- Upload a government ID to confirm your identity.
- Turn on two-factor authentication (seriously, do this).
- Complete the payment for your subscription.
- Submit your application. If everything looks good, Instagram usually verifies you within 48 hours.
What does it cost?
Prices vary by region and device.
- In India: ₹699–₹899 per month.
- In the US: $14.99/month if you sign up via web browser. iOS and Android users pay $19.99/month.
Yes, it’s a paid subscription. But for many people, it’s the most straightforward way to get verified fast.
2. Apply for Instagram Verification (Free, but Harder)
Don’t want to pay? You can still apply for free—but only if your account meets Instagram’s eligibility standards. This route is designed for public figures, brands, and well-known personalities.
Here’s how to apply:
- Go to your Instagram profile.
- Tap the menu icon (three lines) at the top.
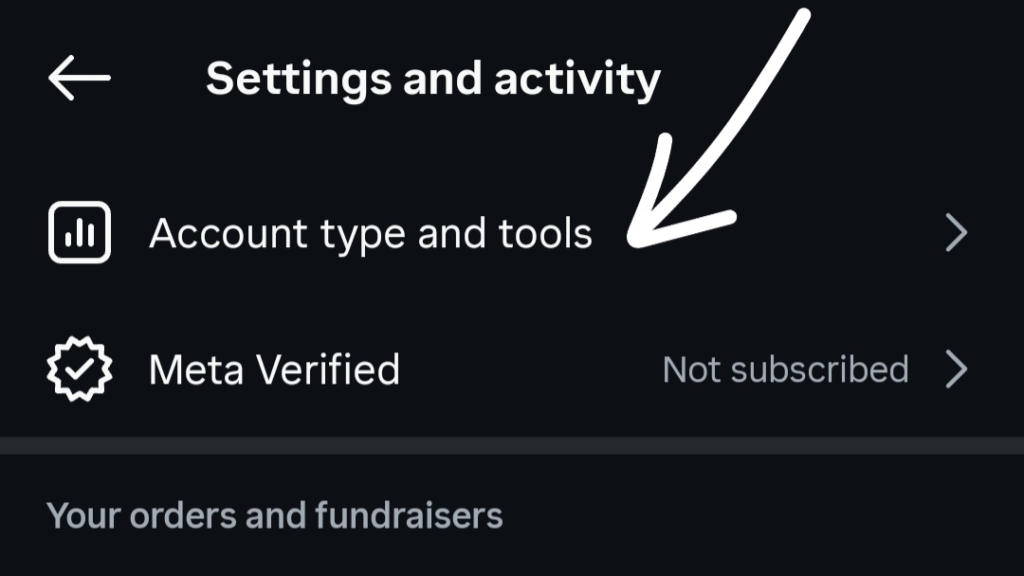
- Choose Account Type and Tools.
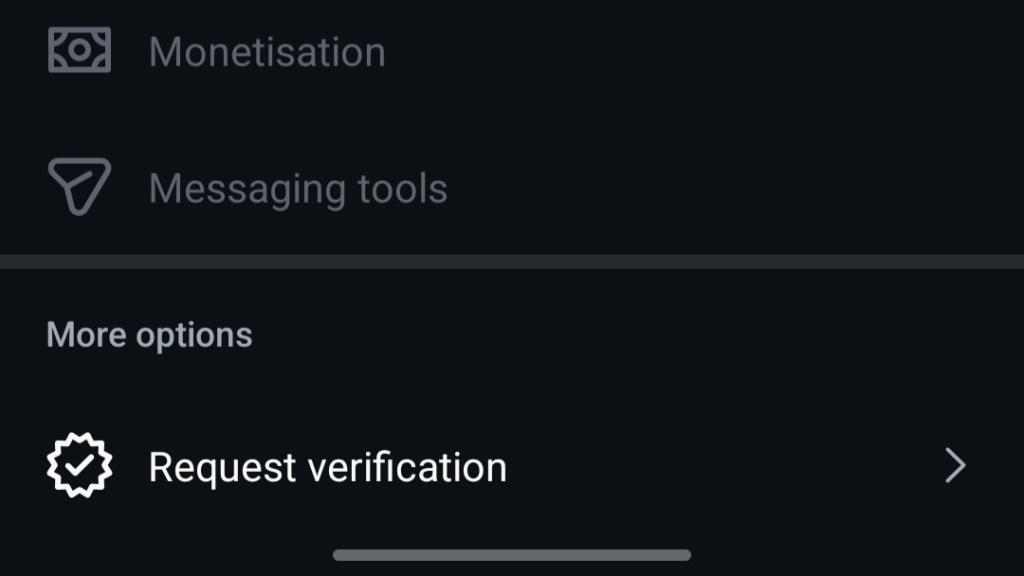
- Select Request Verification.
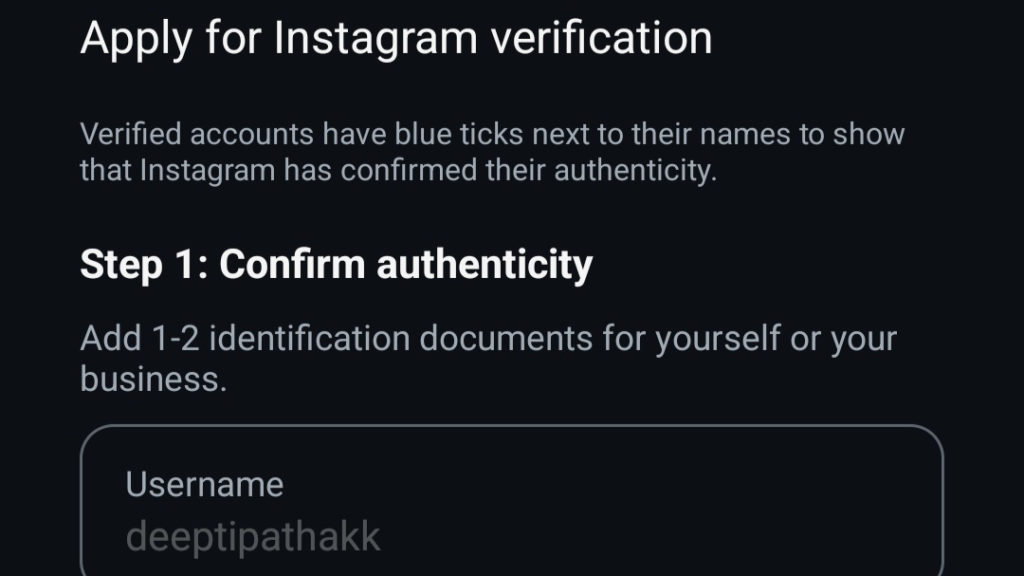
- Fill in your name and account details.
- Upload a valid ID or official business document.
- Submit your application.
Then comes the waiting game. The review process can take up to 30 days.
Important note: Instagram does not count paid or sponsored articles as legitimate media coverage. So don’t waste money on sketchy PR deals thinking it’ll help.
Tips to Increase Your Chances of Getting Verified
Whether you go the paid or free route, these tips will help:
- Build a real online presence. Get featured by legitimate, well-known media sources. Instagram needs to see that you’re searchable and publicly recognized.
- Keep your profile clean and professional. A clear bio, a decent profile picture, and regular posts all matter.
- Post consistently. An abandoned account won’t convince anyone—especially not Instagram’s review team.
Think of it this way: verification rewards accounts that already look legit. So make yours impossible to ignore.
Final Thoughts
Getting verified on Instagram in 2026 isn’t as mysterious as it used to be. You’ve got two clear options: pay for Meta Verified and get it done in a couple of days, or apply as a notable figure and wait up to a month.
Choose the path that fits your goals and budget. Either way, that blue badge is closer than you think—just follow the steps, stay consistent, and don’t overcomplicate it.
Now go get that checkmark.